To start sharing users and roles:
| • | Select portal to share from the tree view on the left and click the Add link |
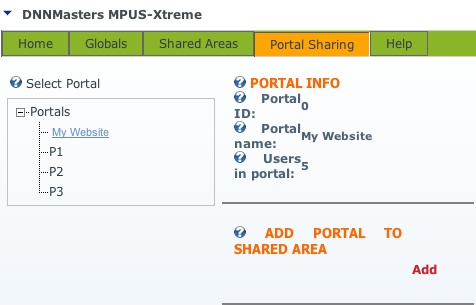
| • | This will start the Portal Sharing Wizard |
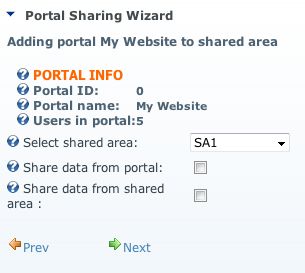
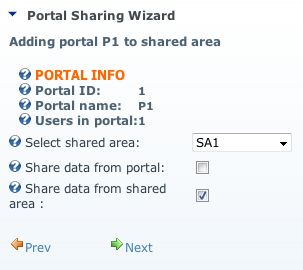
| • | Select desired Shared Area from the drop down box |
| • | Select one or both "sharing direction" options: |
| a) | Share data from portal - if selected, the portal user accounts, roles and role groups data will be shared with the Shared Area, |
| b) | Share data from Shared Area - if selected, the user accounts data from Shared Area will be available in portal (data shared by other portals) |
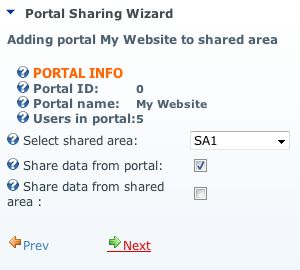
| • | Click Next to continue to selection of users to be shared, |
| • | by default Share All Users option is selected but you can disable it |
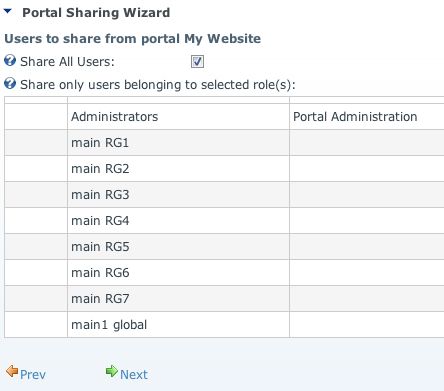
| • | and select to share only users belonging to a certain role(s), |
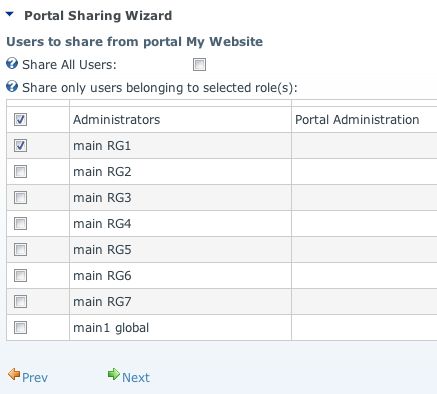
| • | click Next to continue, |
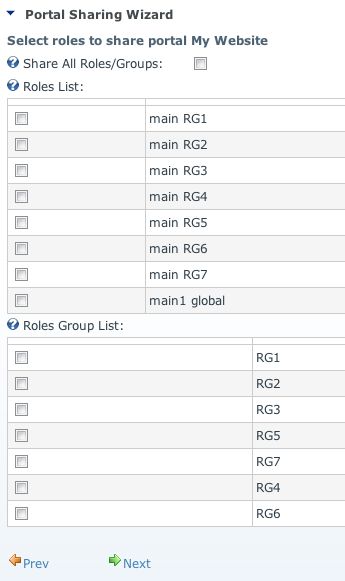
| • | select roles and/or role groups to share |
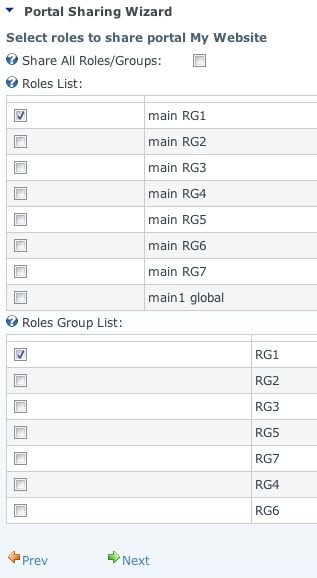
| • | and click Next to continue, |
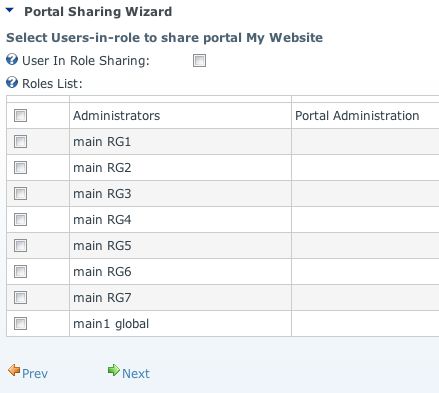
| • | select roles to share user-in-role assignments, |
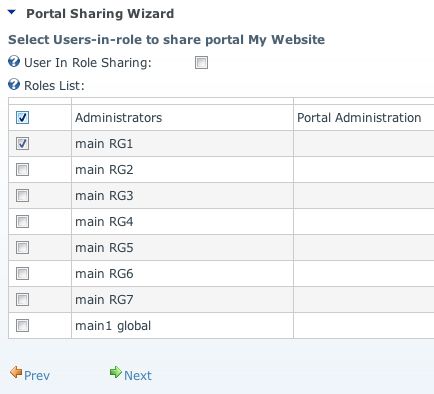
| • | and click Next to continue, |
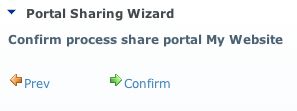
| • | confirm the sharing, this will execute procedures that actually share users, roles and user-in-role assignments, |
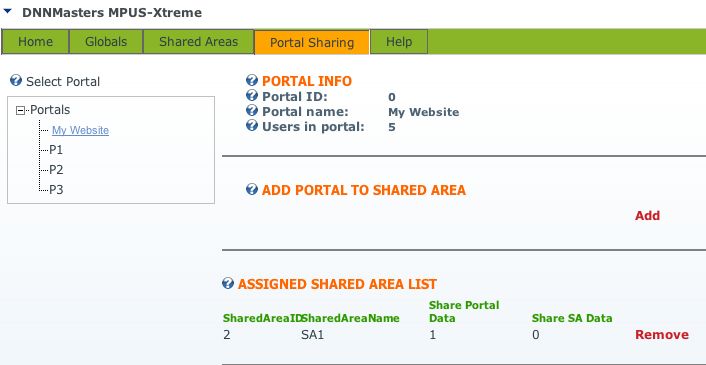
| • | Portal "My Website" is now shared to Shared Area 1 |
| • | Let's add another portal |
| • | click Add |
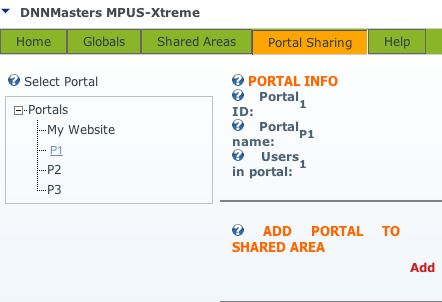
| • | this time we share from Shared Area only. |
| • | this will cause selected users from portal My Website available in portal P1 but users from P1 will not be shared |
| • | click Next |
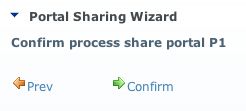
| • | the wizard jumps right to the confirm dialog because there is nothing to share from portal |
| • | click Confirm |
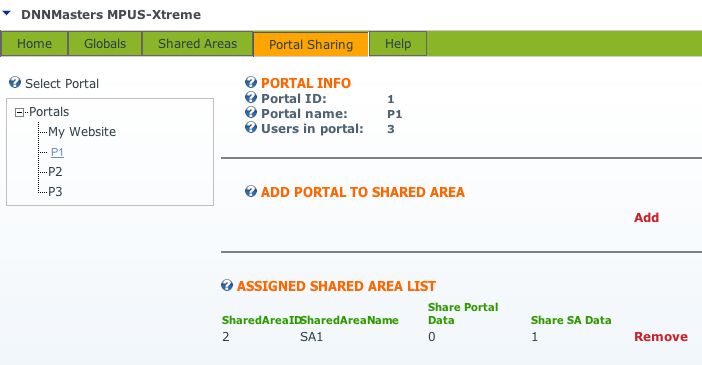
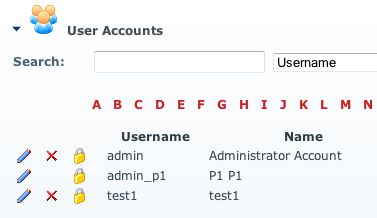
| • | now the number of users in portal P1 has increased from 1 to 3, |
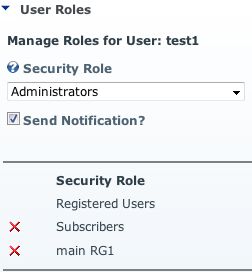
| • | also the role and the role groups is shared and shared users retain their original role assignments, |
* DNNMasters User Manager Suite can help in management of users and roles.
The module is fully compatible with DNN 5.x and with MPUS-X.