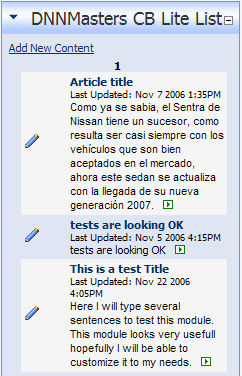
To add new content
Click the 'Add New Content' link in the module.
First check the box next to the sub-category you want to create the article in. If no sub-categories are in the list, you need to create a sub-category from the 'Lite Categories' module.
You can select an author by checking the box next to it. The article will be displayed as being created by the author you select. If no author is selected, the article will be displayed as being created by the account you are logged into(displayed when creating or editing the article).
You can enter a title for this article in the 'title' field. This title will be displayed in the 'Lite List' module with the article.
You cannot change the 'created by' name. This is applied automatically by the system. However, only the name you select as the 'author' will be displayed with the article(unless no author is selected). You can change the 'created' date by clicking the calendar icon next to the date. This date is automatically set to the current date by the system.
In the Description Field, you can enter a brief description of your article. This will be visible by the public as well as registered users.

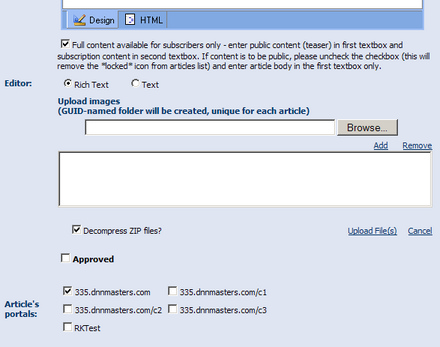
Checking the box that states 'Full content available for subscribers only' will allow you to determine whether the public can see only your 'teaser' article or the entire article.
The 'Editor' option allows you to choose between rich text and plain text. Rich text allows you to format the text; plain text is text only.
The Upload Image Field allows you to upload an image to your article. To do this, first click the browse button and locate the file you wish to upload. Then click the 'Add' button. This will add the image to a list directly below. Click the 'Upload Files' button to upload all the items in the list above. If the image location is set to CB Specific(option available from the 'Articles Full Options' page), the images are uploaded to a specific folder for the article. If the image location is set to DNN Default, the image is uploaded to the file manager.
The 'Decompress ZIP files' check box just indicates whether a zip file would be uploaded as a single file(Zip file), or if the system will decompress the ZIP file and upload each extracted file individually.
The 'Approved' box must be checked for the article to be posted to the web site. If the author or creator does not have the authority to approve articles, an authorized user would need to approve the article before it will be displayed to the public.
The 'Articles Portal' option allows you to display the article on more than one website that is managed by DNN. If no web sites are selected, the article will not be displayed on any website.
The 'Enter public content' window is where you enter the 'teaser' or preview article. This is available to the public view. If the 'Full content available for subscribers only' box (mentioned above) is checked, this portion of the article is available to the public, but a 'locked' icon is displayed, indicating that they are not authorized to view the full article. If you wish to display the entire article to the public(if the box is not checked), this is where you would enter the full article.

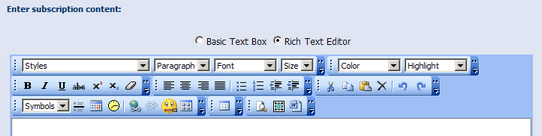
The 'Enter subscription content' window is for information that will only be visible to registered users on the site. If the 'Full content available for subscribers only' box (mentioned above) is unchecked, anyone can view this article.
When you are finished entering the data, click 'Add' at the bottom of the page to post the article or mark it to be 'Approved' before being posted.
